Happy Earth Day, folks. It's also Good Friday, which in my opinion is WAAAAAY more important. Hope you have a good one. No favorites of the week today, but here's a fun craft to try!
Here are a few links for Good Friday reference & reflection.
One from my alma mater: Preparing for Good Friday
An article from last year: A Good Friday Reflection
Anyway, on to the tutorial. Have you ever bought foam soap? It's totally brilliant if you've never tried it. The face wash I buy is in a foam dispenser & I got tired of throwing the container away. Let's face it, there's enough plastic in our landfills... So, I decided to recycle & revamp. These make a great Mother's Day gift, which is coming up, by the way!
Turn liquid soap to foam soap using this simple trick:
The secret is in the pump apparatus. Foam soap is just liquid soap diluted down with some air added. Just mix 1/3 liquid soap (stray away from the ones that have beads because these can get stuck in the pump) to 2/3 water, shake it up to mix. I've even done this with body wash to stretch a buck.
For the craft part of the project, all you need is an old foam soap/face wash container, fabric and decoupage.
Paint a layer of decoupage onto the bottle & attach your fabric. Your hands will get sticky, so be excited. Paint a layer of decoupage on top of the fabric, and smooth out any bubbles. Let this dry for an hour or two and put an extra layer on. You can keep it simple, or you can add some letters or decoration, just remember to seal it on with another layer of--yep, you guessed it--decoupage. Let it dry completely before filling with the soap & water mixture. *Note: if your bottle is wonky, just cut two pieces of fabric that match up with the shape & attach to the front and back.*
Now, wash off that sticky decoupage with some hand crafted foam soap! Enjoy. Very self explanatory tutorial, but pictures to follow later (sorry... busy busy).
Also, found this in my daily email from Hugh. Brilliant if you ask me. Don't get so caught up in environmental causes and being "green" that you forget that people are most important.
Showing posts with label recycle. Show all posts
4.22.2011
Earth Day Craft: Fabric Covered Foam Soap Dispenser
1.10.2011
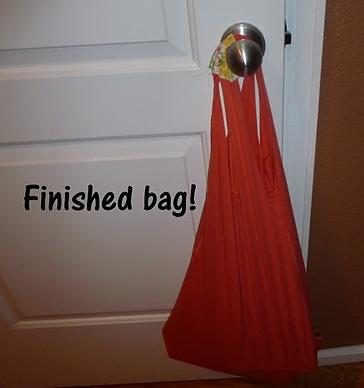
Old T-shirt to Trendy Tote Bag
Who doesn't have an old t-shirt looming around and taking up space in their closet? Let's be honest, I have too many. Most have some sort of sentimental value, so the idea of trashing them or getting rid of them makes me a wee bit sad. Here's an idea to up-cycle an old t-shirt that holds a special place in your heart. Convert it to a tote bag and it will have a special place for your groceries to nestle up inside. I originally saw this idea on Martha Stewart and have since seen many ideas for this project. I'm going the classic route & using an old t-shirt. You can also use up some fabric scraps to add some fun (& color). [I suggest adding embellishments at the beginning of the project; it makes things a bit easier]
Start with a flat, inside-out, washed & ironed t-shirt. Pin along the bottom of the shirt & sew. I like a rounder bottom, so I sewed an arc by the sides. Cut off the excess fabric.
Cut both sleeves off the shirt. These will be the handles.
Use a large bowl to trace around the neck of the shirt. Cut out the half circle you just traced. This will be the opening to the bag.
Now turn the shirt right side out and you're ready to load the new bag up with a change of clothes, some groceries, or books to return to the library. Here's my bag stuffed with books. It's quite stretchy & has a lot of room. A traditional tee works well too!
Easy peasy, lemon squeezy!
1.09.2011
Paint sample mantra mosaic
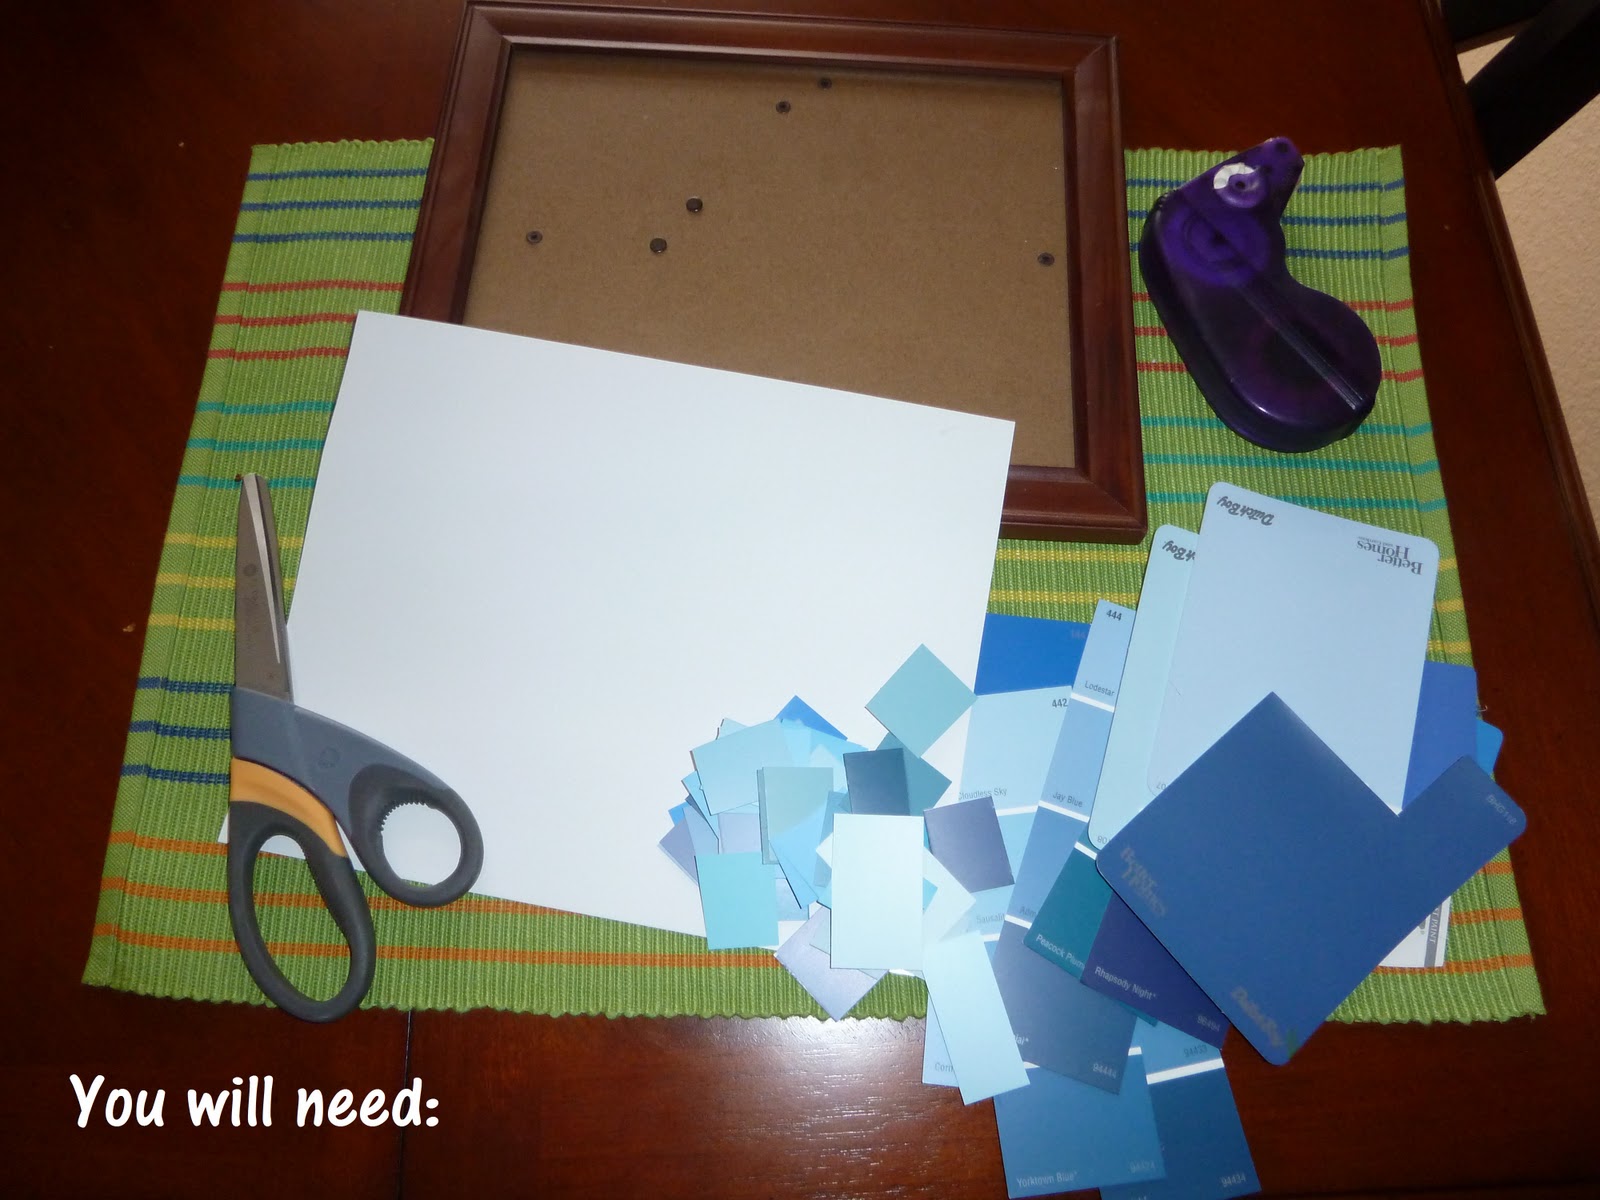
I’m all about color. I love adding color to just about everything. For this project you’ll have the opportunity to add some chromatic goodness. Got some paint samples from your last remodel of the bathroom? Yeah, me neither. I just pick them up whenever I pass the paint aisle because I think they’re pretty & awesome. What started out as a daydream about making a music video to Regina Spektor’s “Blue Lips” ended with a fascination for paint samples. Needless to say I’ve accumulated quite a few. What better way to use them than a CRAFT project!
a piece of cardboard, a canvas, or a piece of cardstock (I used the one that came in the frame itself)
an assortment of paint samples (hit up Home Depot or a paint store for the motherload of colors)
double-sided tape squares
a colorful quote
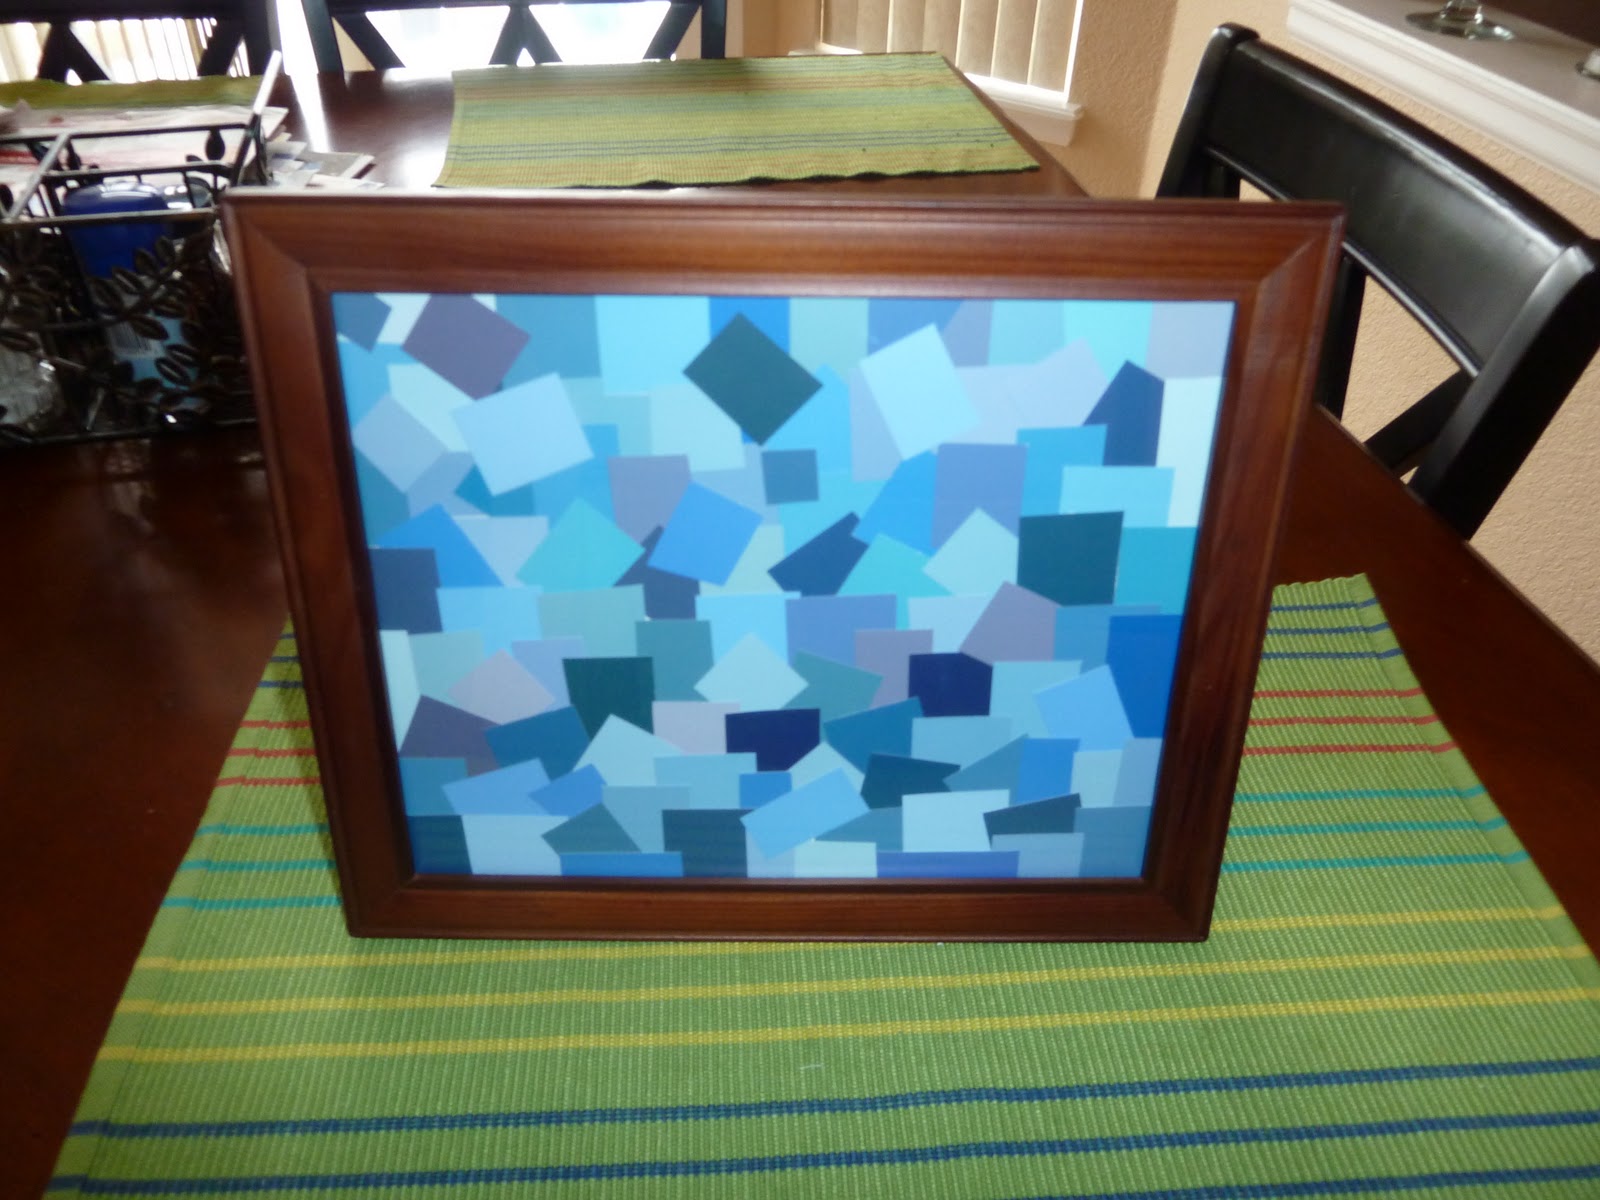
After brainstorming a quote or word you love, cut up you paint strips into squares, circles, or whatever shape you want. Arrange them on your cardboard (or what you’re using) & begin adhering them with double-sided tape. Keep it up until every square inch is covered in colorful goodness. This last part is up to your discretion. You can write the quote in Sharpie, being as creative as you please (I haven't done mine yet, so thank you computer editing software). You could also print a quote or word out & glue it on letter by letter (if you’re like me and don’t have a Cricut cutter). You could use patterned paper and cut out letters. You could paint your quote on. ANYTHING. Be creative. After you’re done and the paint/decoupage/sharpie is dry, apply another layer of decoupage & let dry. Now you’ve got a beautiful thing to smile about in 2011. Put it on your desk, in your closet, on your mirror, or your wall & live your motto!
Here's the semi-finished product:
And here's the saying I actually will put on it. I love (no pun intended) how the word love is up to interpretation. Is it a noun? Is it a verb? Guess it's up to the reader.
1.04.2011
Ribbon to headband
For my first few entries, I thought I’d copy Real Simple’s brilliant idea of using what you’ve got to make something useful/wonderful. Start off the new year with a new project & a green heart.
Ann Taylor LOFT had fabulous ribbons on their bags this holiday season. I did a lot of shopping there and couldn’t bear to see these lovelies thrown away. I decided to make something with them. Have any old ribbons you’ve been saving but don’t know what to do with? Try this.
Grab a thick ribbon & a sewing machine for the world’s easiest headband. (Mine was about 30 inches long by 2 inches wide).
Iron the ribbon flat getting out the kinks.
Fold the ribbon in half and iron. Pin down the length of the ribbon & sew. Since this ribbon has a variety of hues I used a plain stitch but if you had a plain ribbon it might be cute with a zig-zag or more decorative stitch.
Ta-da. The two minute headband/retro ribbon.
Subscribe to:
Posts (Atom)